How to Capture the Northern Lights
| All, DISCOVER ICELAND
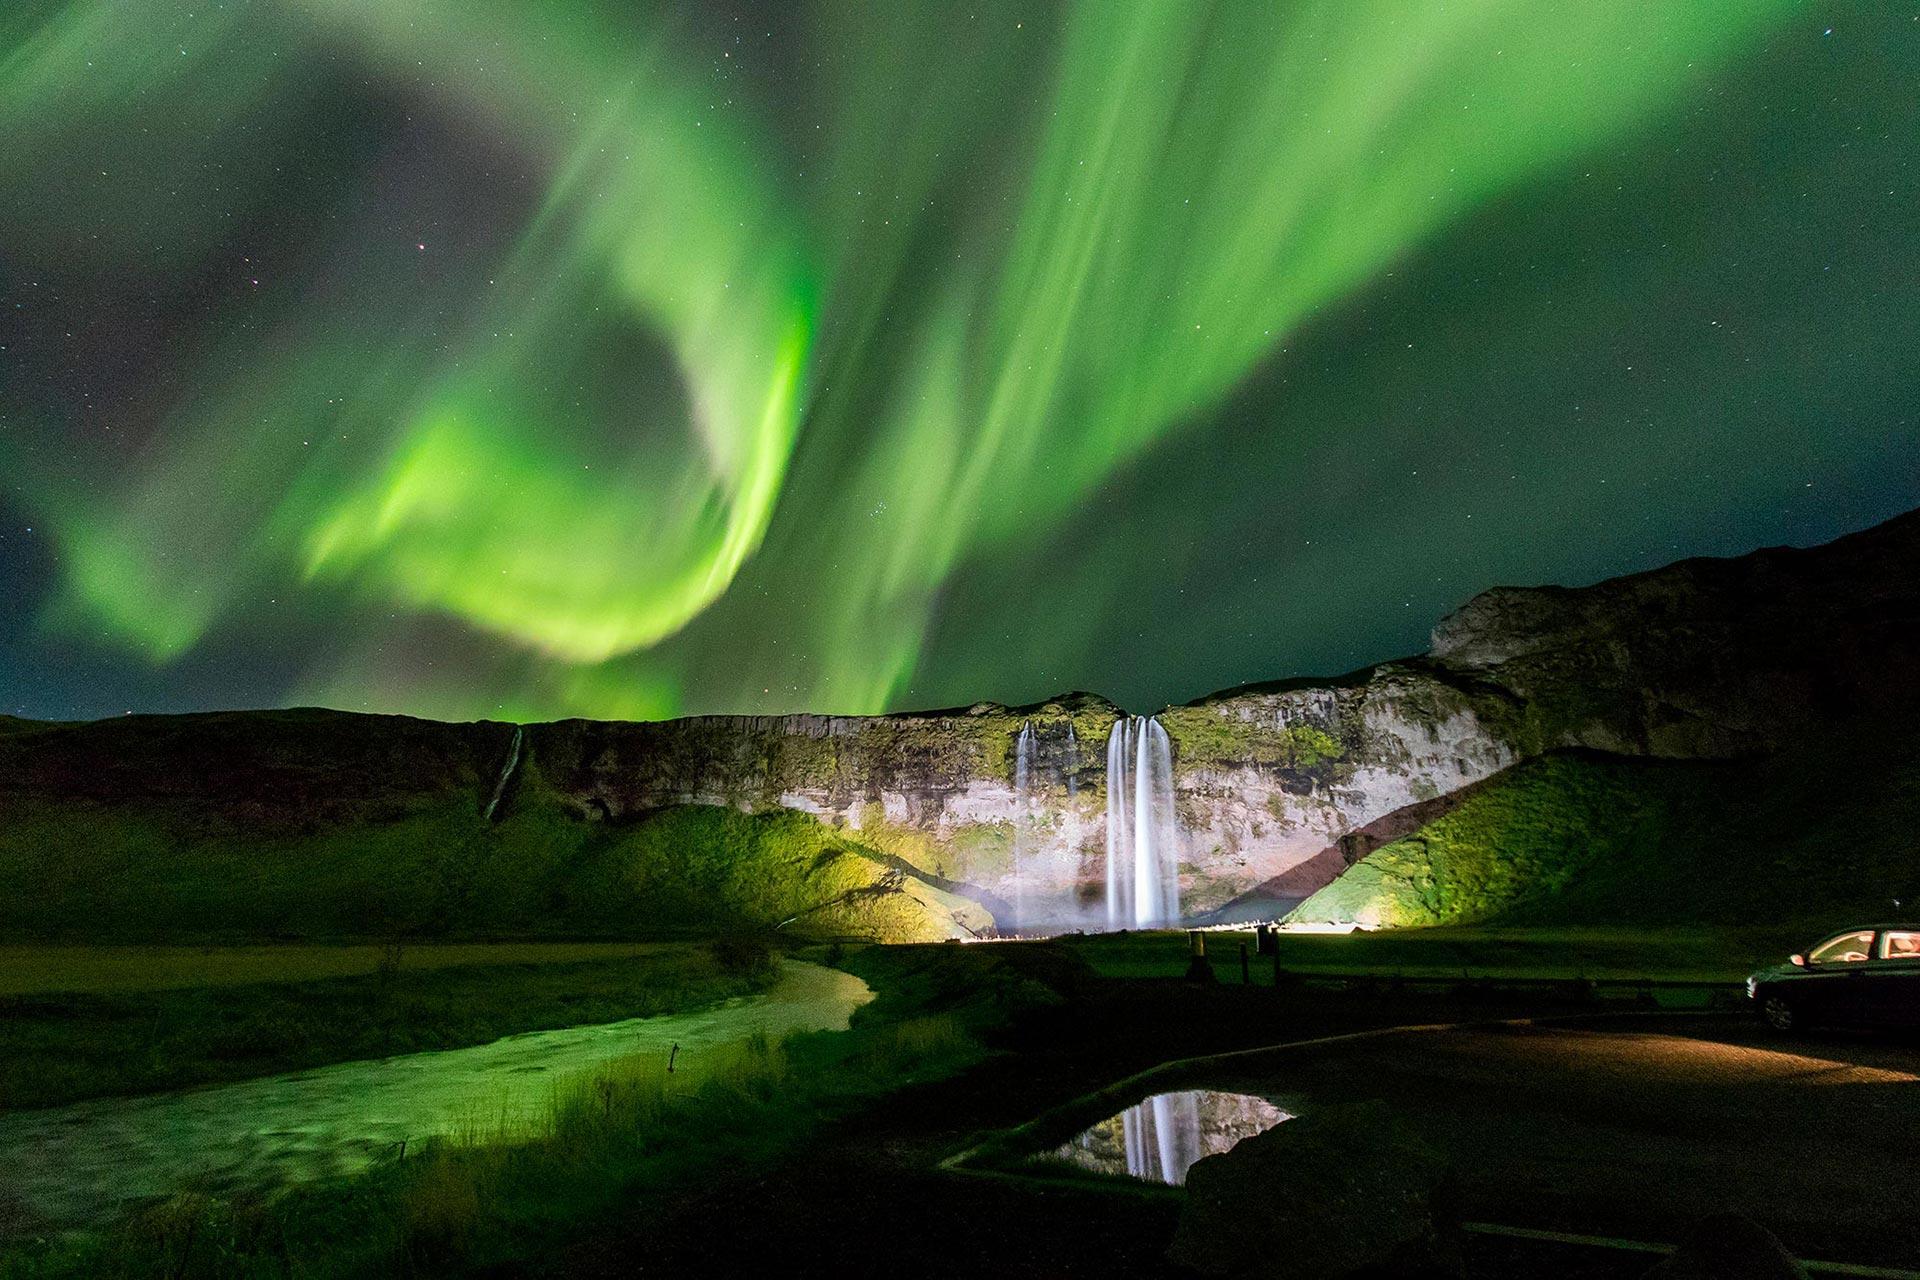
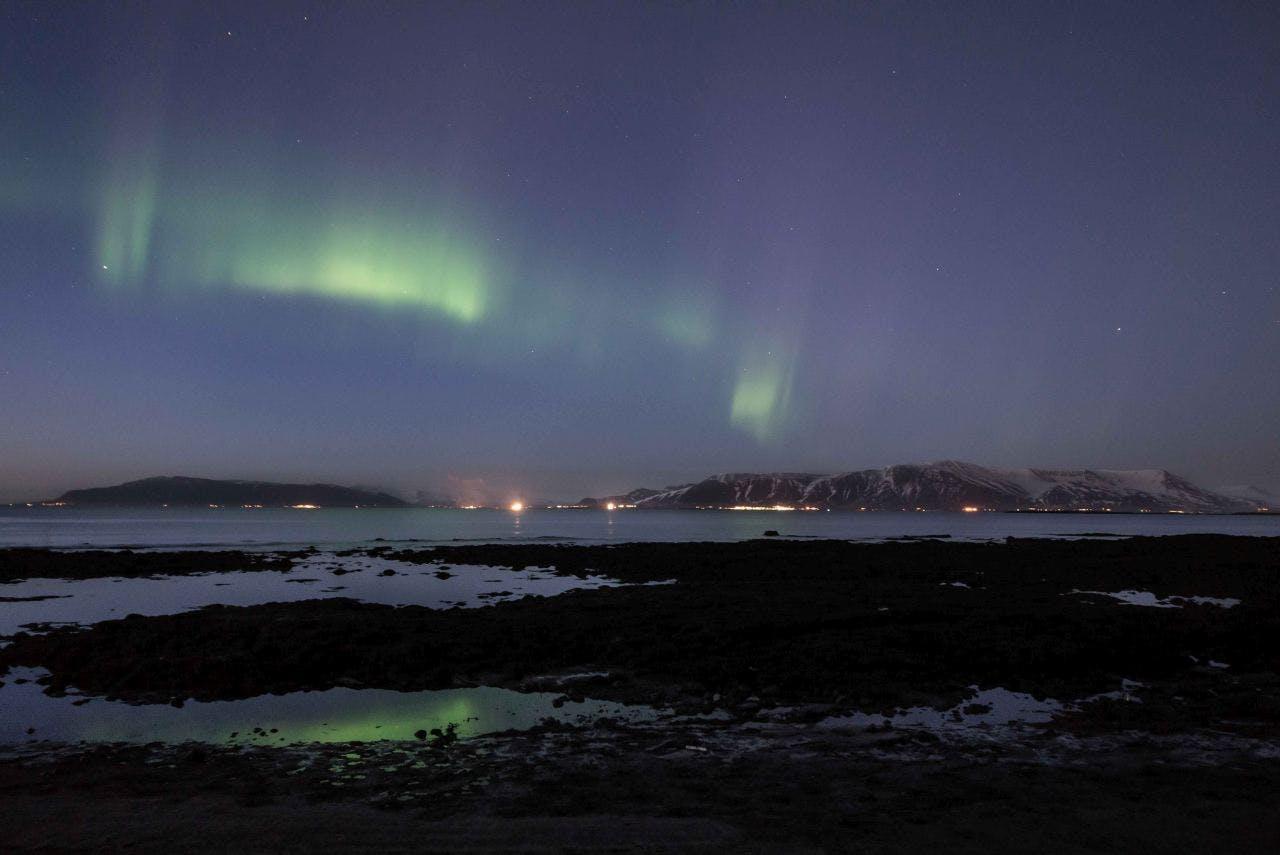
Northern lights
Capturing the Northern Lights
As if seeing the Northern Lights wasn't hard enough, capturing them in a frame is a whole different challenge.
We know that people want to take home some great photos, so we consulted our in-house photographers, gathered up their technical advice, and laid it all out into this blog post. Hopefully with our help, you will know all the basics. Come prepared, and you can go home with some awesome shots. If you see the lights, that is.
Aurora had but newly chased the night, And purpled o'er the sky with blushing light.
The Smartphone Crowd
It has been said that the best camera in the world is the one in your pocket, and that could not be truer when referring to smartphones.
Smartphone cameras are incredibly good and are improving with each passing generation. It is safe to say that an advanced smartphone camera is more capable than about 85% of all the cameras ever produced since the beginning of photography, and that takes us back to about the mid 19th century.
The biggest obstacles you will encounter are:
- Keeping the phone steady
- Keeping the camera open long enough.
There is only you and your camera. The limitations in your photography are in yourself, for what we see is what we are.
These obstacles can be overcome by using a tripod and using a smartphone tripod attachment or a dedicated smartphone tripod although these tend to be a bit short and too low to the ground.
To deal with the exposure problem, you will need a camera app that can do long exposures; although many smartphones have long exposure modes as a standard feature. Check out Long Exposure 2 for Android or Slow Shutter for iOS.
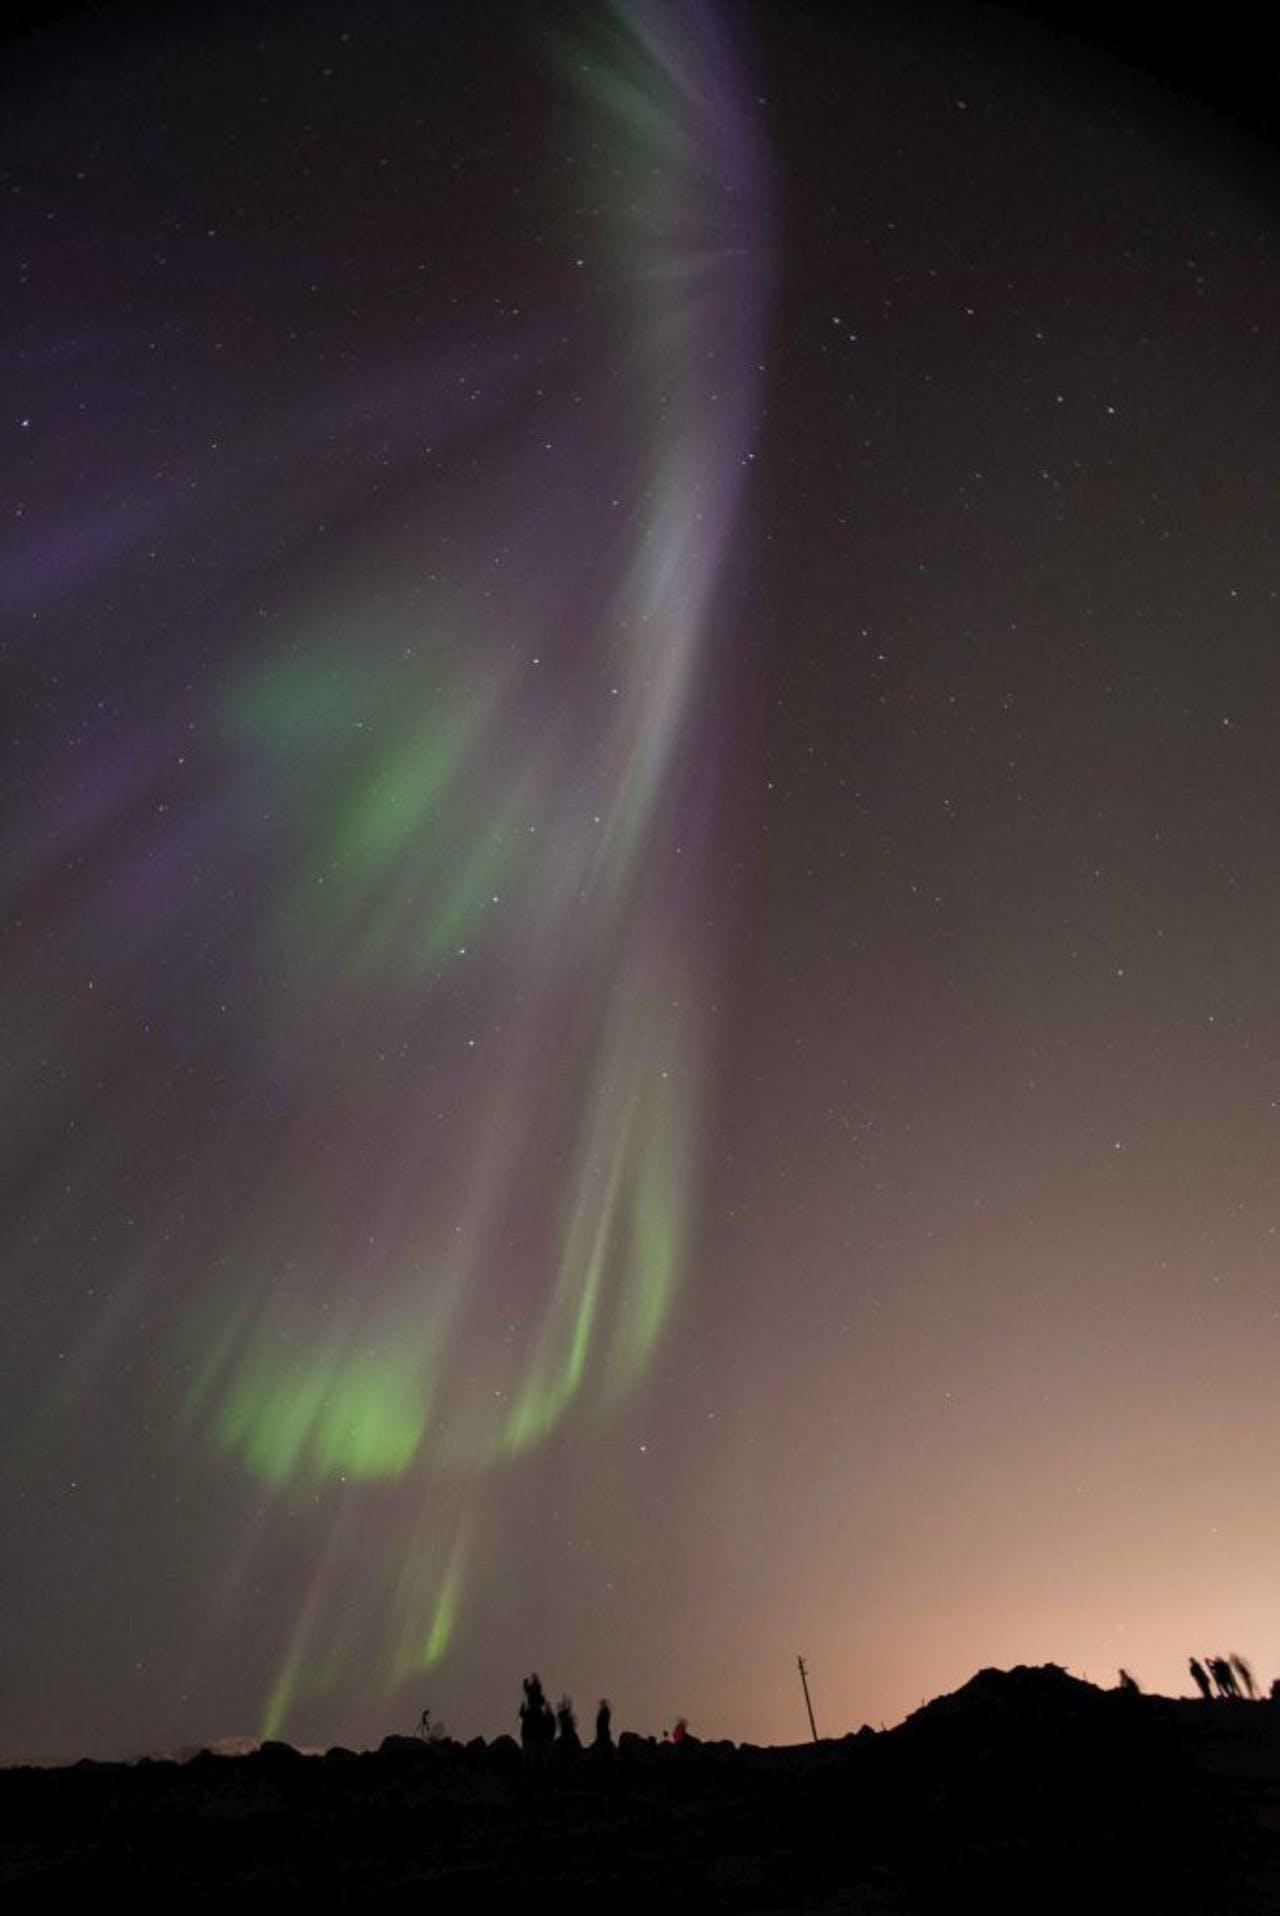
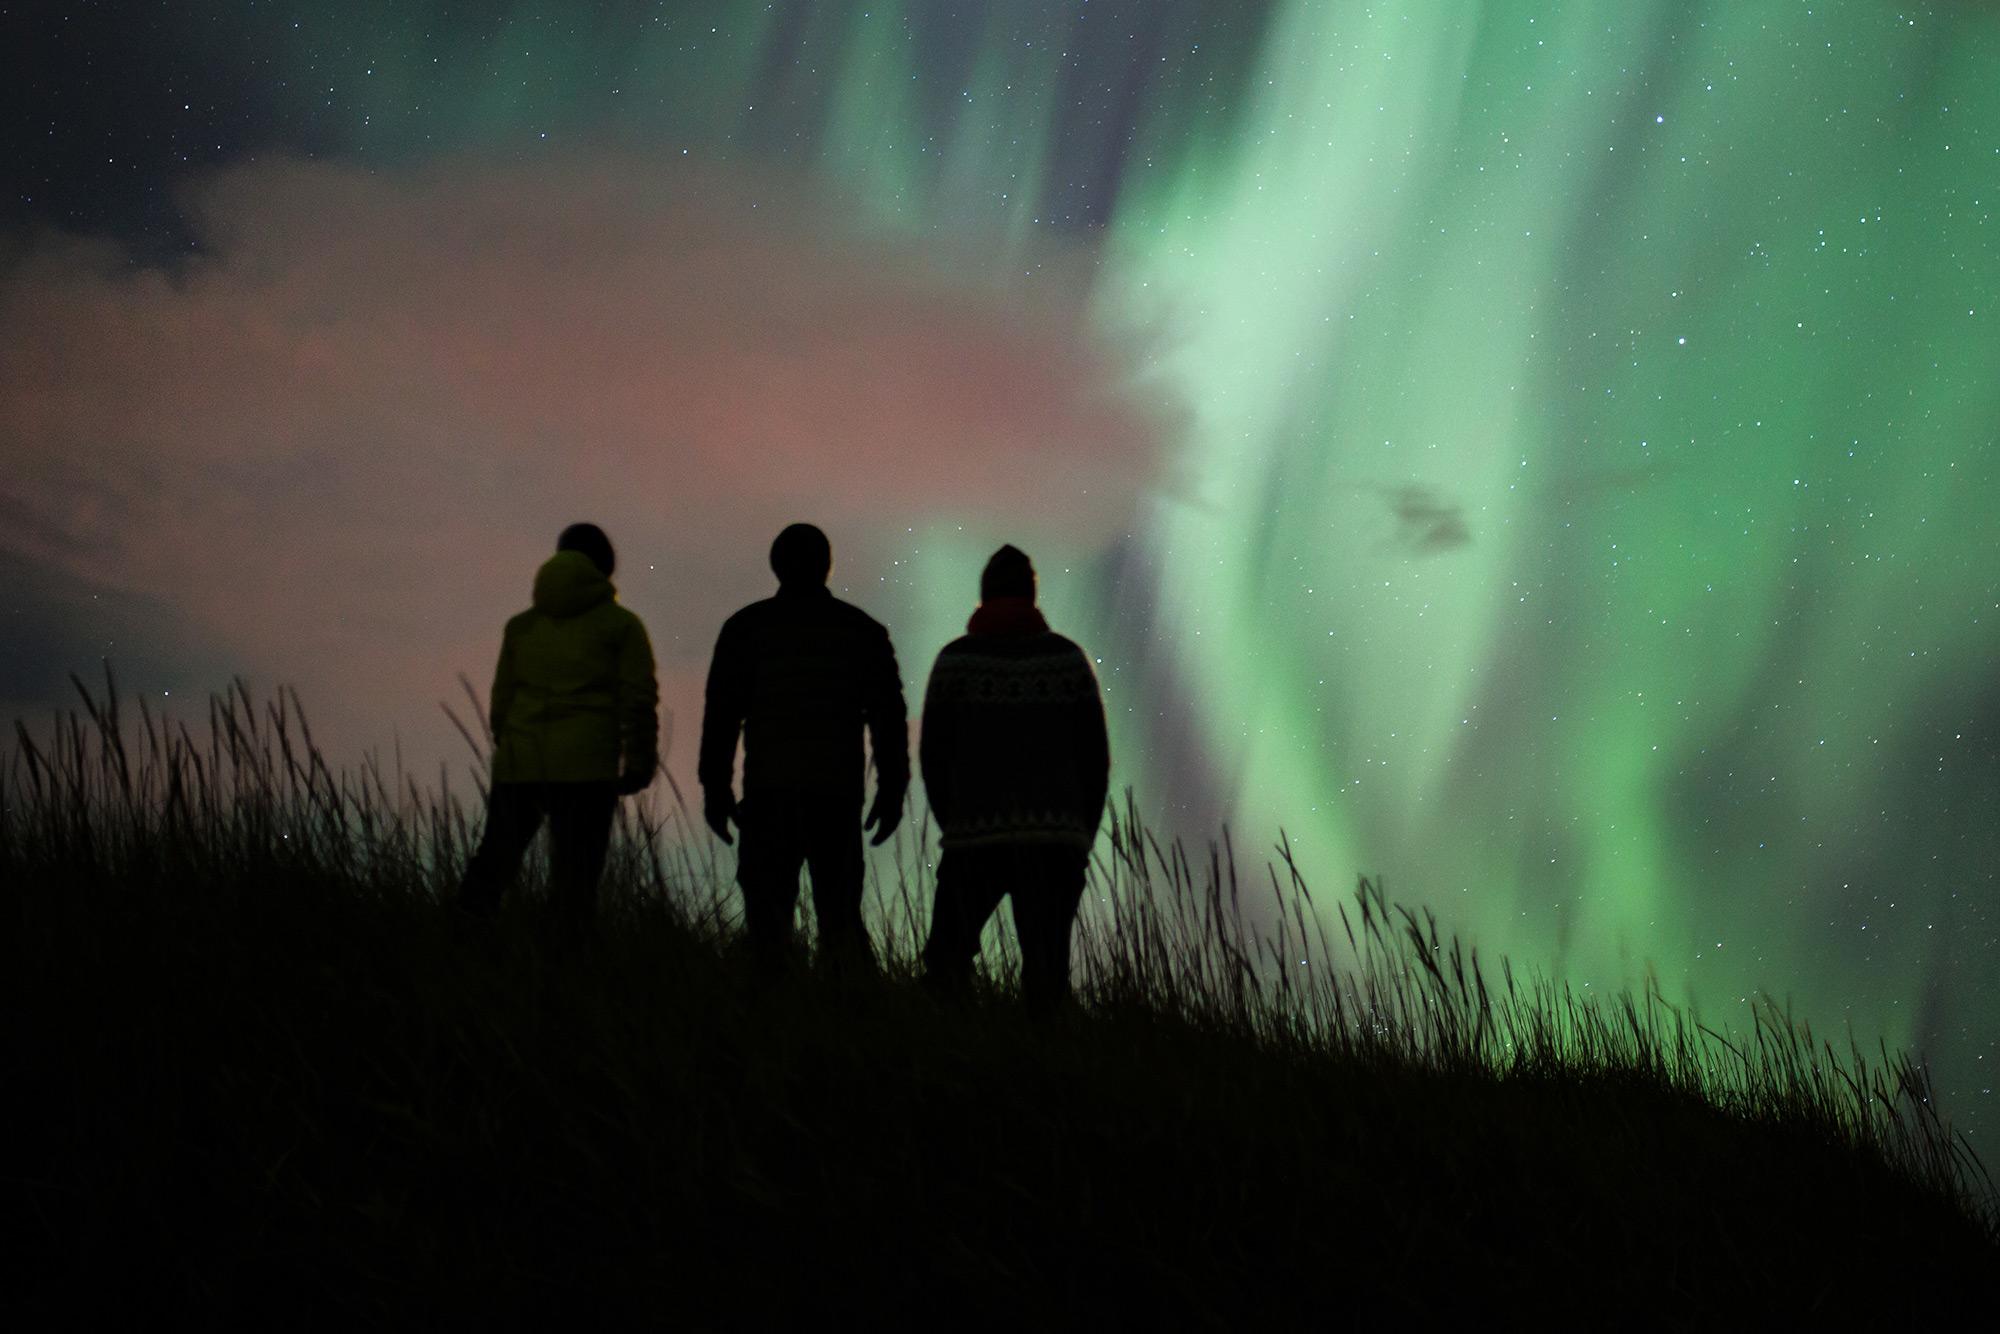
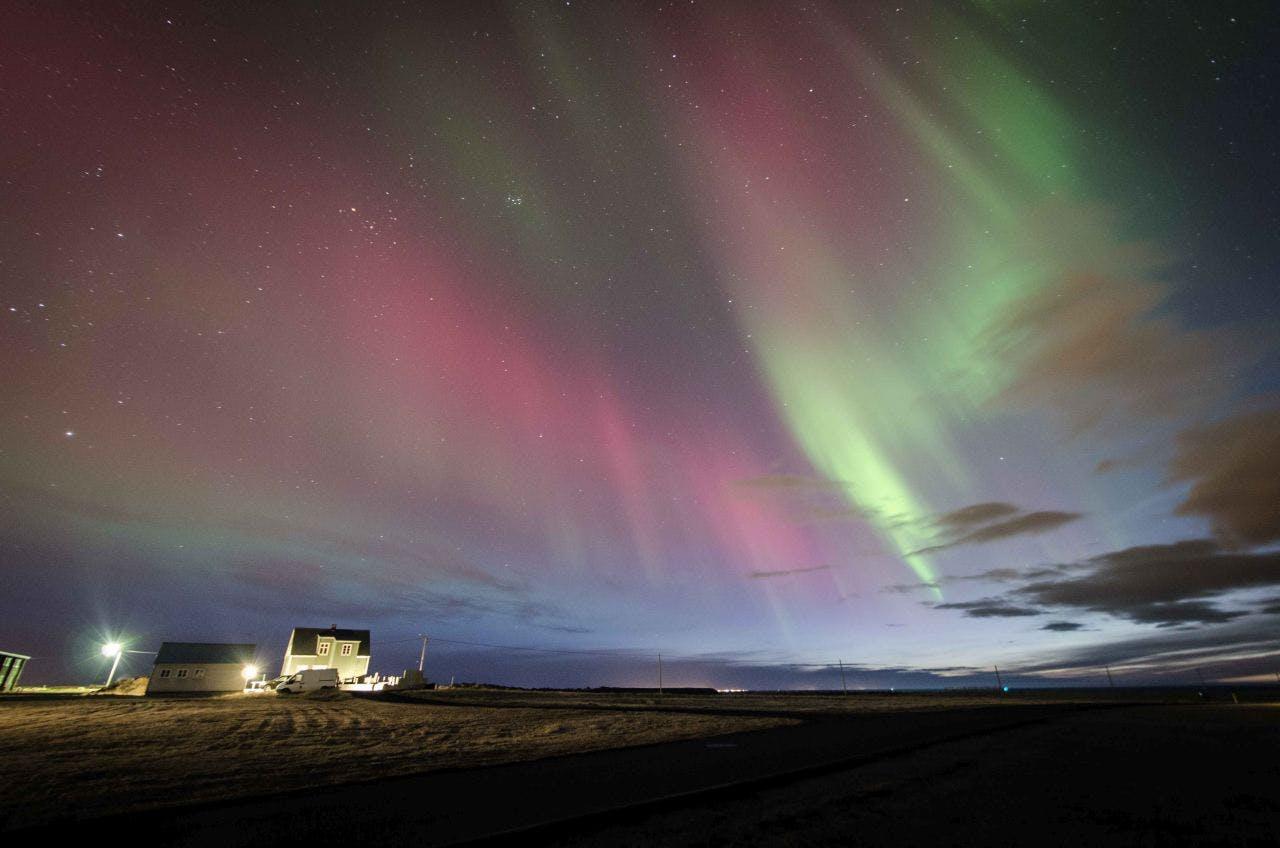
Silhouettes of photographers under city light and auroras
First Things First
If you have a point-and-shoot or even a nice SLR, get these basic things right and you will be well on your way to some great shots:
- Tripod. It's essential. Don't have a tripod? Fuhgettaboutit. Unless you are capable of balancing your camera on a rock (which might not be very good for your camera, especially these jagged, lava kinds we have here) then please bring a tripod with you to Iceland. There are so many capable, light, and inexpensive options available.
- If you just regularly take a picture, the photo will most likely be blurry: blurry photos no more! Use a cable release, which is an accessory attachment to fire the shutter without touching the camera. You can use the delay timer to take a picture 2,5, or 10 seconds after you press the shutter. Or use a radio remote that attaches into the flash hot shoe and plugs into the body.
- Everyone needs to see when it is pitch dark. Take a headlamp, but remember to be courteous to other photographers: too much light in the foreground could ruin the multi-second exposures. Most headlamps have a red LED for use at night time. Make sure to use it in this mode. It also much more pleasing for the eyes.
Camera Modes
Auto (and all of its incarnations like A, S, and P) are not your friend! For the Northern Lights, it's manual all the way.
In these low-light situations, the camera will not focus automatically. I shudder when I think about how many potentially awesome shots have been ruined by autofocus: put it in manual!
There is usually a switch on the lens and a switch on the body. Move both to manual. Once it is in manual, the focus needs to be set to infinity. Put the focus pin in the middle of the lemniscate (∞) if you are using a wide-angle lens. This is because the auroras are a great distance away, and once the subject is a certain distance away from the lens, everything from that point onwards will be in focus.
ISO
This is the sensitivity of the sensor to the incoming light. When photographing the Northern Lights you want a higher ISO than you would have during the day. Start with 800 and take it from there. You want it only as high as you need it because the quality of the images goes down!
Aperture (f-stop)
The maximum aperture (the hole that your lens makes so that light can get through to your sensor) is different for each lens. While some lenses are better than others, almost all can capture the Northern Lights given the right shutter speed. Try to have it as wide (smallest number) as possible.
If you have a professional-quality prime lens like the Sigma Art 24, don't be afraid to shoot wide open at 1.4 but make sure the focus is precisely at infinity. We often use tape to lock the focus ring in the infinity position so that it doesn't get knocked off by accident in transport or in the dark.
Shutter Speed
The shutter speed is the amount of time that your camera stays open to allow light to get through to the sensor.
The camera collects all of the light of the given exposure period, adds it all up on the sensor and gives you your shot. It can be very fast - thousandths of a second (4000/1) or very slow (15”/ 30” seconds). For the Northern Lights, you will need the shutter speed to be slow, think at least 15 seconds. This is because when its dark, as it is on a pitch dark night sky, the camera needs to be left open longer.
The north! the north! from out the north What founts of light are breaking forth, And streaming up these evening skies, A glorious wonder to our eyes!
Focal Length
In general, you will want to have a wide angle lens when photographing the Northern Lights. Focal length is measured in mm, and to start off with you will want a focal length somewhere in the region of 18-24 or even 35mm.
Wide angle lenses will allow you to “get it all in”. All the way from the interest at ground level, maybe some trees, the coast line, a lake, all the way up to the sky where you will find the auroras.
Once you have a few shots, you may want to try something different: maybe there is a particular shape in the Northern Lights that you want to focus on. In this case, use a longer focal length to zoom in, pivot the camera on the tripod, find the composite, lock the tripod and capture. And then hope that you have something, because you have to be fast. Experiment with different focal lengths and see what you get.
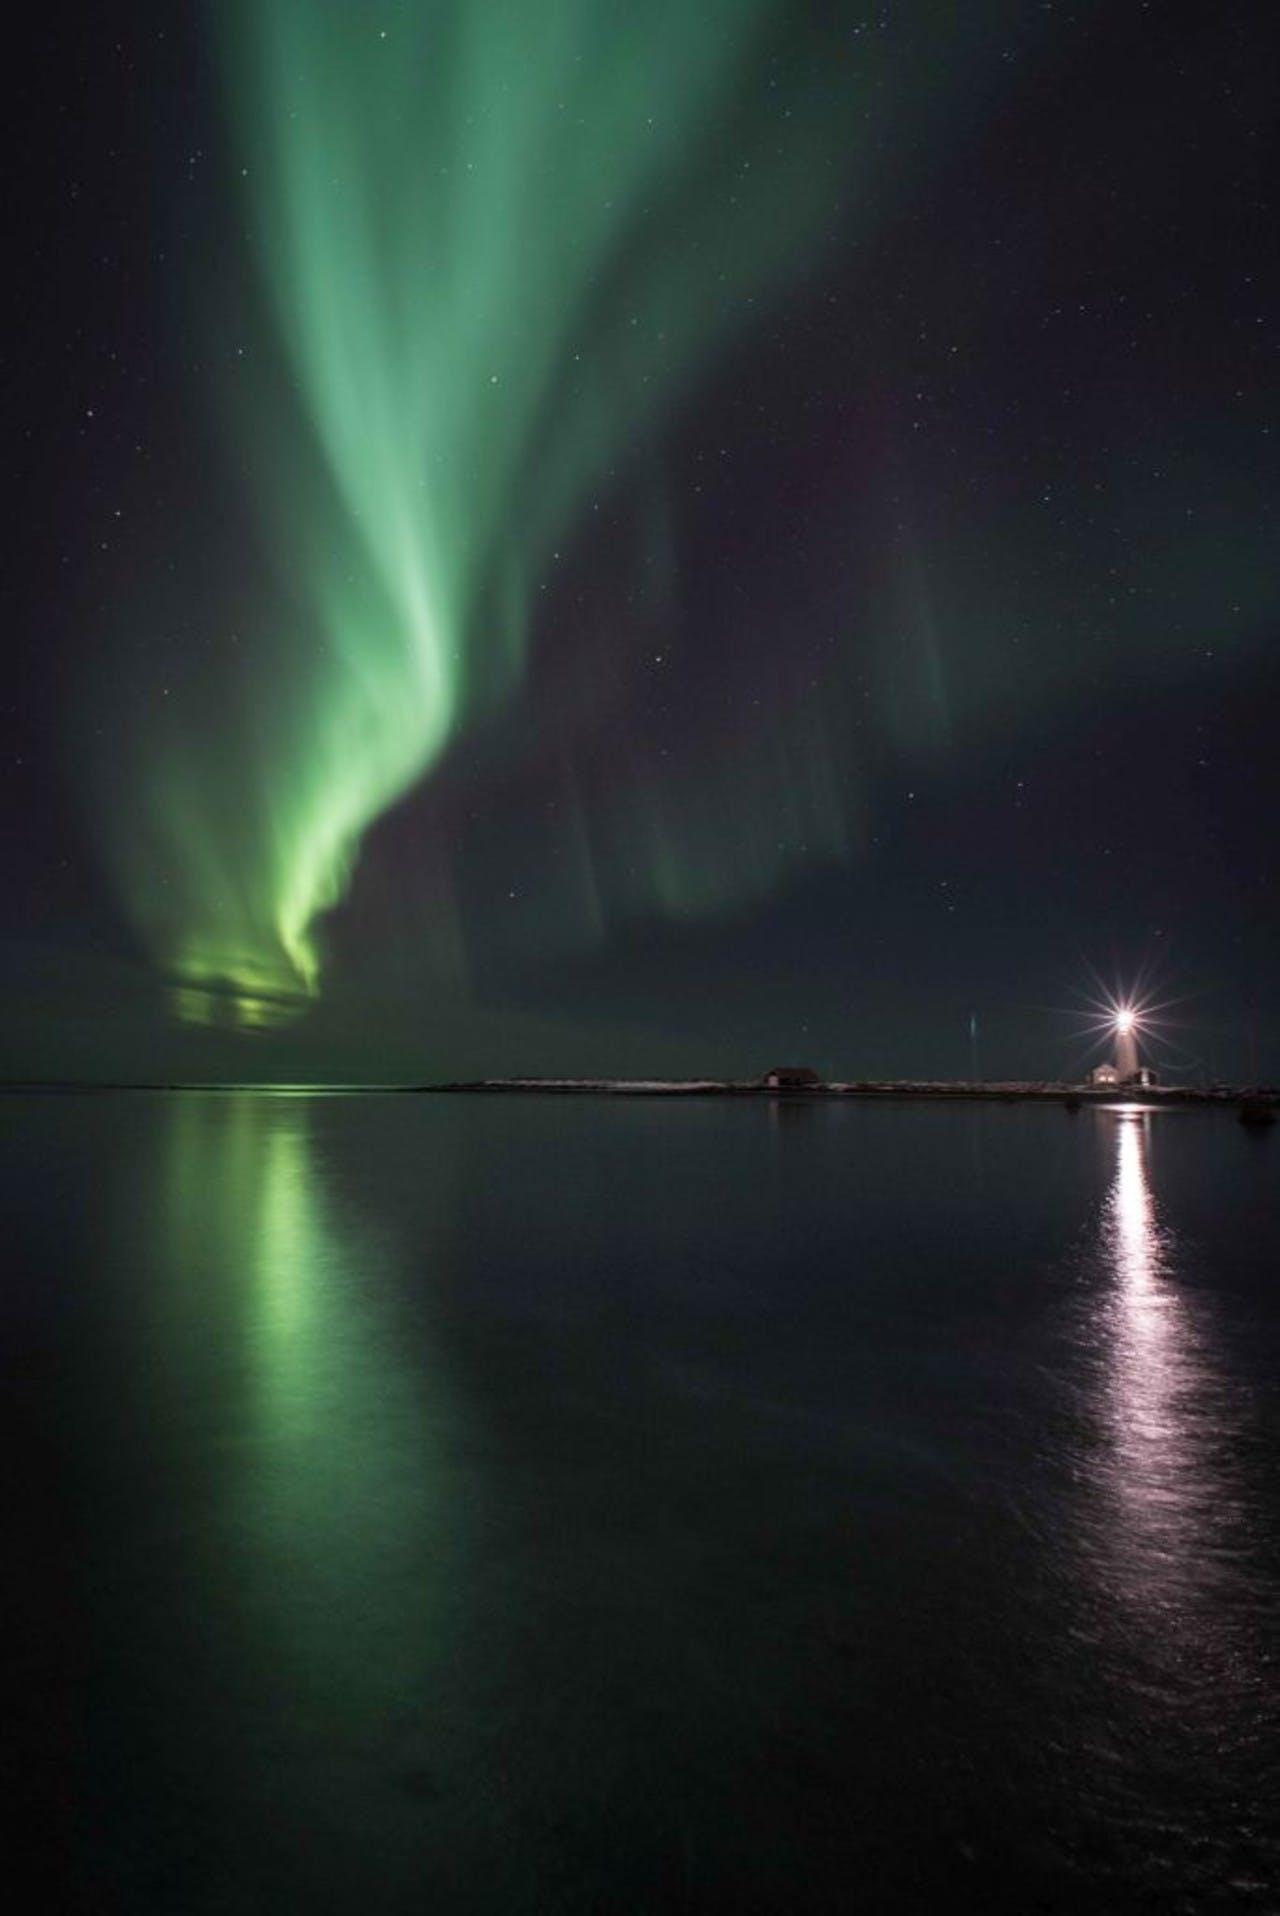
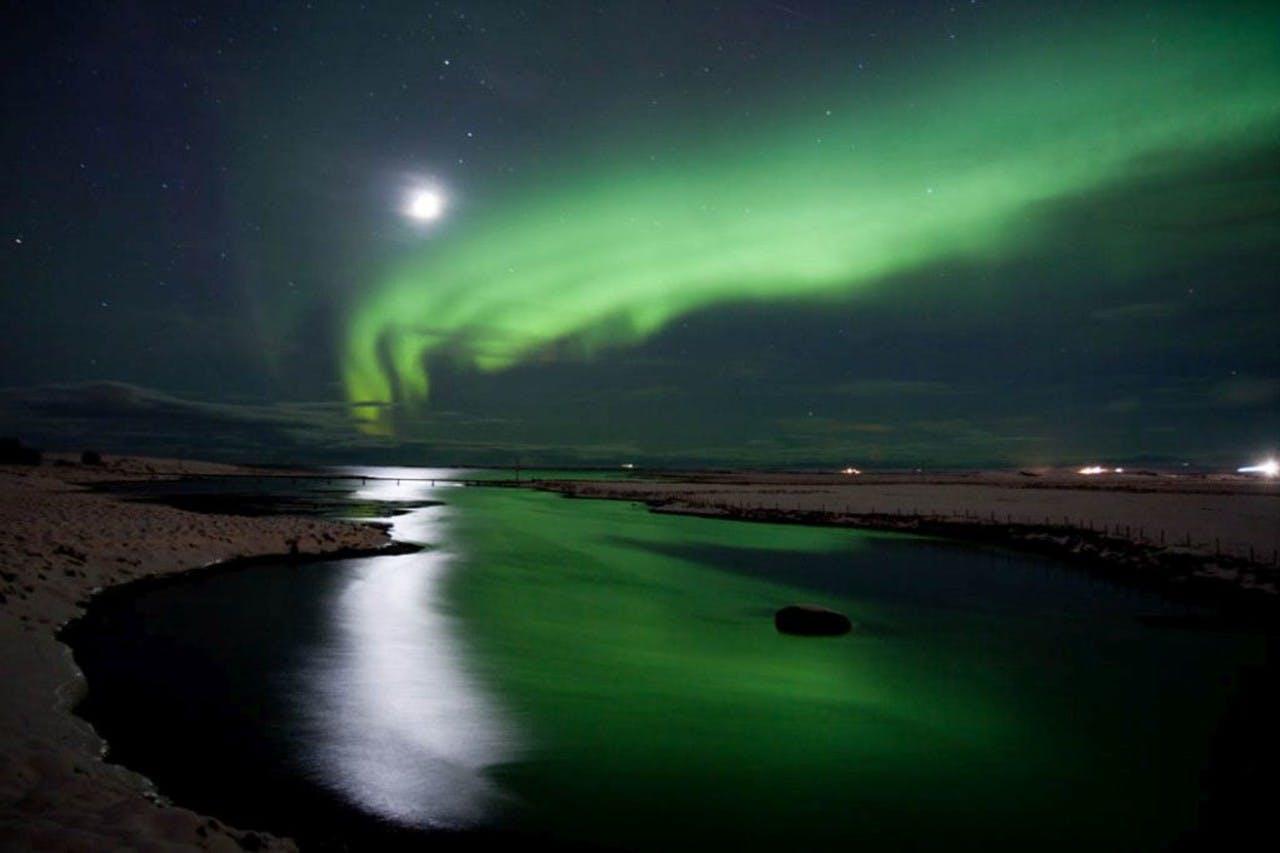
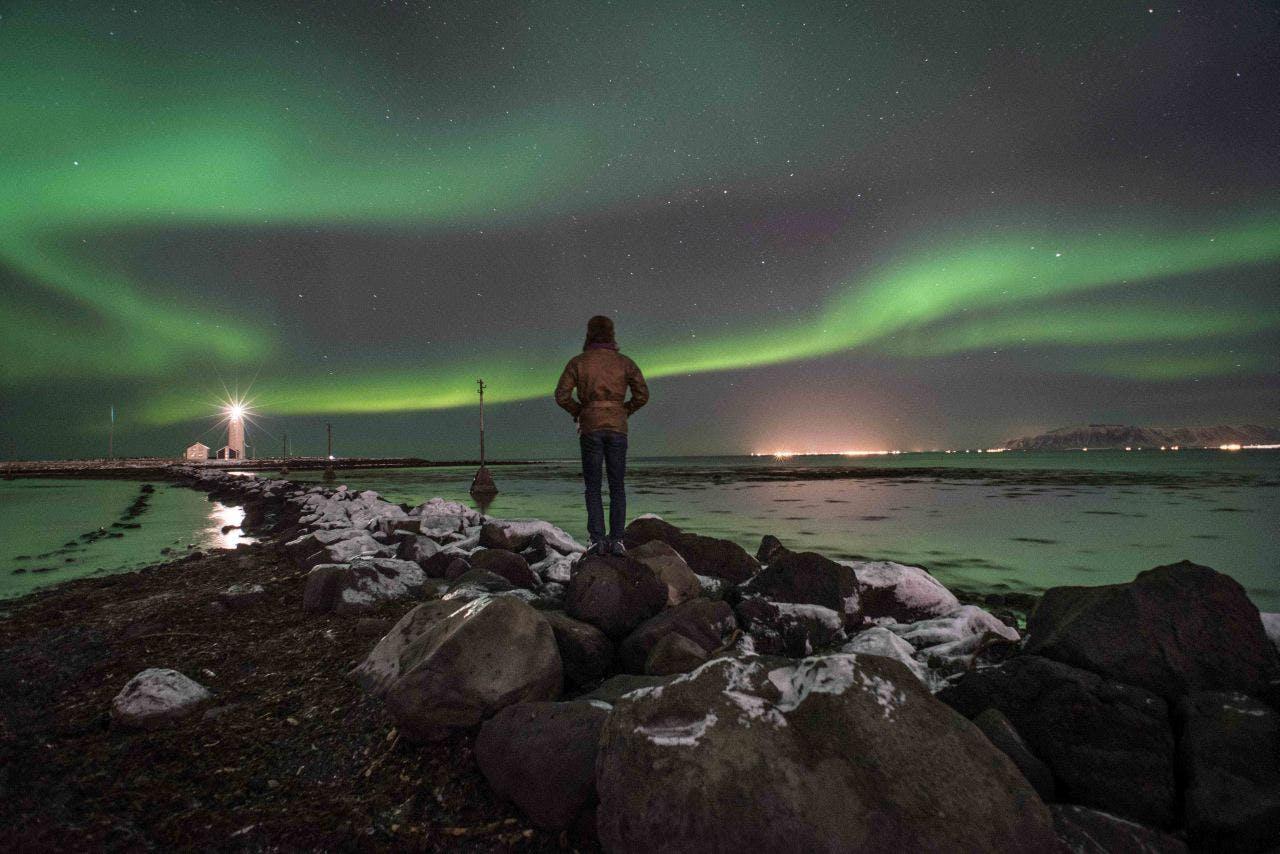
Auroras and still water over Grotta.
We wish you the best in your Northern Lights photography. Happy shooting!
If you are interested in seeing the Northern Lights in Iceland, we have a variety of tours that take you to some great spots. Whether you are looking for a day tour or a multi-day tour that includes a Northern Lights hunt, we've got you covered.
All photography by Joe Shutter
Keep me informed about the Icelandic Mountain Guides Blog
Outdoor adventure in Iceland is our specialty. Subscribe to our free monthly newsletter to learn when to go, what to do and where to have the best adventures in Iceland.